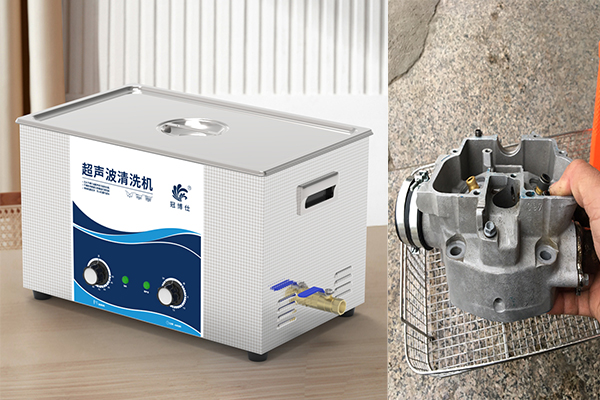
In modern industrial production, parts cleaning is a crucial process, especially when dealing with precision components that require high accuracy and efficiency. Ultrasonic cleaners for parts have become essential tools for achieving this level of cleanliness. They utilize high-frequency sound waves to generate cavitation effects, removing oils, dirt, and contaminants from parts quickly and thoroughly. However, how should you use ultrasonic cleaners for parts properly to ensure optimal cleaning results and avoid damaging the components? The answer is simple: by following a few key steps, cleaning becomes efficient and safe.

Why Choose an Ultrasonic Cleaner for Parts?
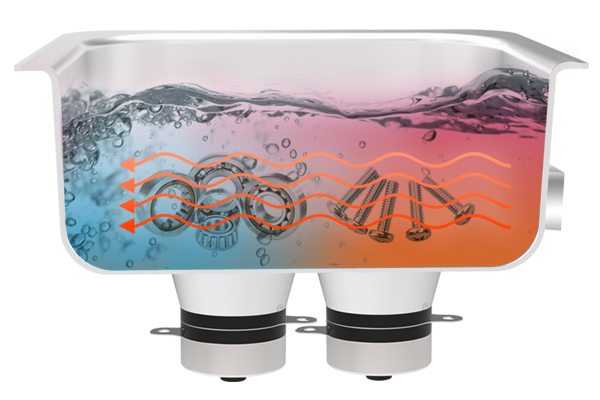
The working principle of ultrasonic cleaners is unique. They generate tiny bubbles in the cleaning liquid through high-frequency sound waves. These bubbles collapse under pressure, releasing energy that effectively dislodges stubborn dirt from parts, even in small crevices. This makes ultrasonic cleaning highly efficient, especially for precision components, automotive parts, and electronic devices.
If you’re still uncertain about whether to use an ultrasonic cleaner for parts, here are some of its advantages:
- Highly Efficient Cleaning: Ultrasonic cleaners provide deep cleaning, reaching difficult-to-access areas that traditional methods may miss.
- Time and Cost Savings: Compared to manual cleaning, ultrasonic cleaning can significantly reduce cleaning time and labor costs.
- Non-Damaging to Parts: Unlike mechanical cleaning, ultrasonic cleaning does not wear down or scratch the surfaces of delicate parts.
How to Properly Use an Ultrasonic Cleaner for Parts?
Using an ultrasonic cleaner for parts is not complicated, and by following these steps, you can ensure efficient cleaning without damaging the components.
1. Preparation: Choose the Right Cleaning Solution
The first step is choosing the appropriate cleaning solution. Different types of contaminants require different cleaning solutions. For oil-based dirt, a water-based alkaline solution is ideal, while for precision parts, an environmentally friendly solvent or deionized water is a better choice. Using the wrong solution can lead to inadequate cleaning or even damage to the parts.
Additionally, ensure that the cleaning tank and connections are in good condition. Check the power cord and ultrasonic transducer to make sure everything is firmly connected before use.
2. Setting the Cleaning Parameters: Temperature, Frequency, and Time
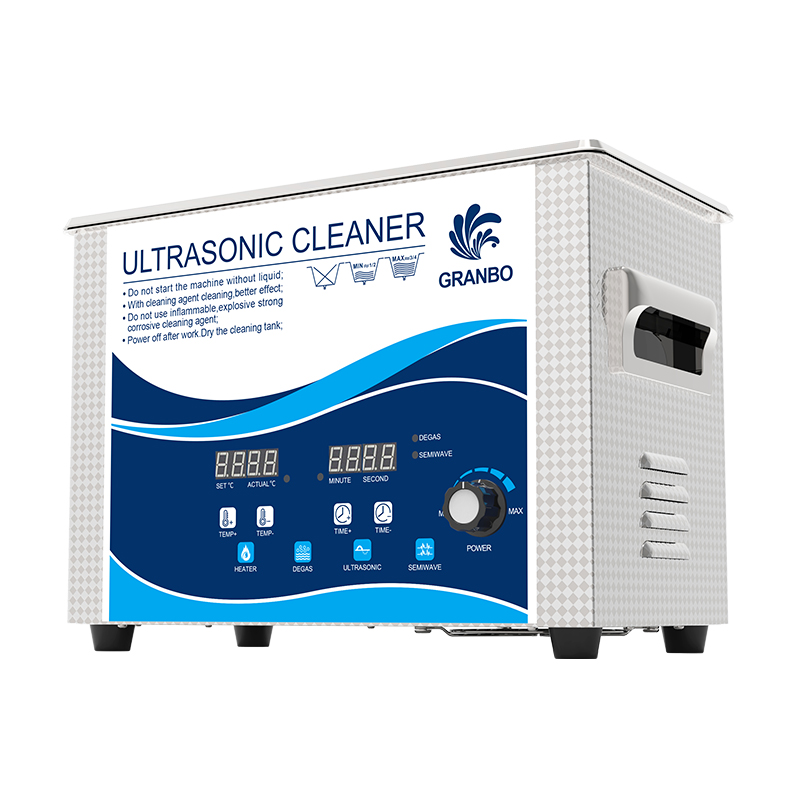
Next, set the correct cleaning parameters based on the type of part and the contaminants present. Typically, the cleaning liquid temperature should be set between 40°C and 60°C, as higher temperatures can damage some materials. Ultrasonic frequency should be adjusted depending on the size and type of parts being cleaned. Lower frequencies are better for large parts and heavy oils, while higher frequencies are better suited for precision components and small particles.
Cleaning time is generally between 5 and 20 minutes. Extending the time too long could cause unnecessary damage to the parts, so it’s important to adjust based on the specific needs.
3. Loading the Parts: Avoid Overloading
When placing parts into the cleaning basket, make sure they are evenly spaced to avoid overcrowding. Overloading the basket will prevent the ultrasonic waves from reaching all areas of the parts, affecting the cleaning efficiency. After placing the parts in the basket, ensure they are fully submerged in the cleaning liquid for optimal cleaning performance.
4. Start the Cleaning Process: Observe the Operation
When you start the ultrasonic cleaner, observe the surface of the cleaning liquid for tiny bubbles and ripples. This indicates that the ultrasonic waves are working properly. Avoid opening the cleaning tank lid during the cleaning process, as this may affect the results.
Common Issues and Solutions
Although ultrasonic cleaners for parts are highly efficient, you may encounter some common issues. Here’s how to address them:
- Unsatisfactory Cleaning Results
Possible Cause: Inadequate cleaning solution concentration, incorrect parameters, or insufficient cleaning time.
Solution: Adjust the cleaning solution concentration and ensure it’s appropriate for the part material. Also, review the frequency and power settings, and extend the cleaning time if necessary. - The Machine Won’t Start
Possible Cause: Poor power connection or internal equipment malfunction.
Solution: Check the power connection to ensure the machine is properly plugged in. If the power is normal, you may need to contact technical support to inspect the internal circuit. - No Bubbles or Ripples in the Cleaning Tank
Possible Cause: A malfunctioning ultrasonic generator or transducer.
Solution: Turn off the machine and check the connections of the transducer. If needed, contact a professional technician to replace damaged components. - Excessive Noise During Operation
Possible Cause: Parts touching the bottom of the tank or loose internal components.
Solution: Ensure the parts are properly placed and floating in the cleaning liquid. Check for any loose components inside the machine and tighten them as necessary.
Conclusion: Proper Use for Better Cleaning and Protection of Parts
By following the above steps, you can use ultrasonic cleaners for parts effectively and safely. Correctly setting the cleaning parameters, selecting the right cleaning solution, and ensuring proper handling of parts will guarantee the best cleaning results while preventing damage to delicate components.
If you encounter any issues or have further questions about using ultrasonic cleaners, feel free to contact us. Our professional team is here to provide technical support and solutions to optimize your cleaning processes.


