Ultrasonic cleaning is widely used in medical, industrial, and laboratory fields due to its efficient and thorough cleaning capabilities. To ensure optimal cleaning results and equipment safety, it is essential to follow proper operational procedures and precautions. The following content provides a detailed guide to operating ultrasonic cleaning machines and related considerations, helping users make the most of the equipment.
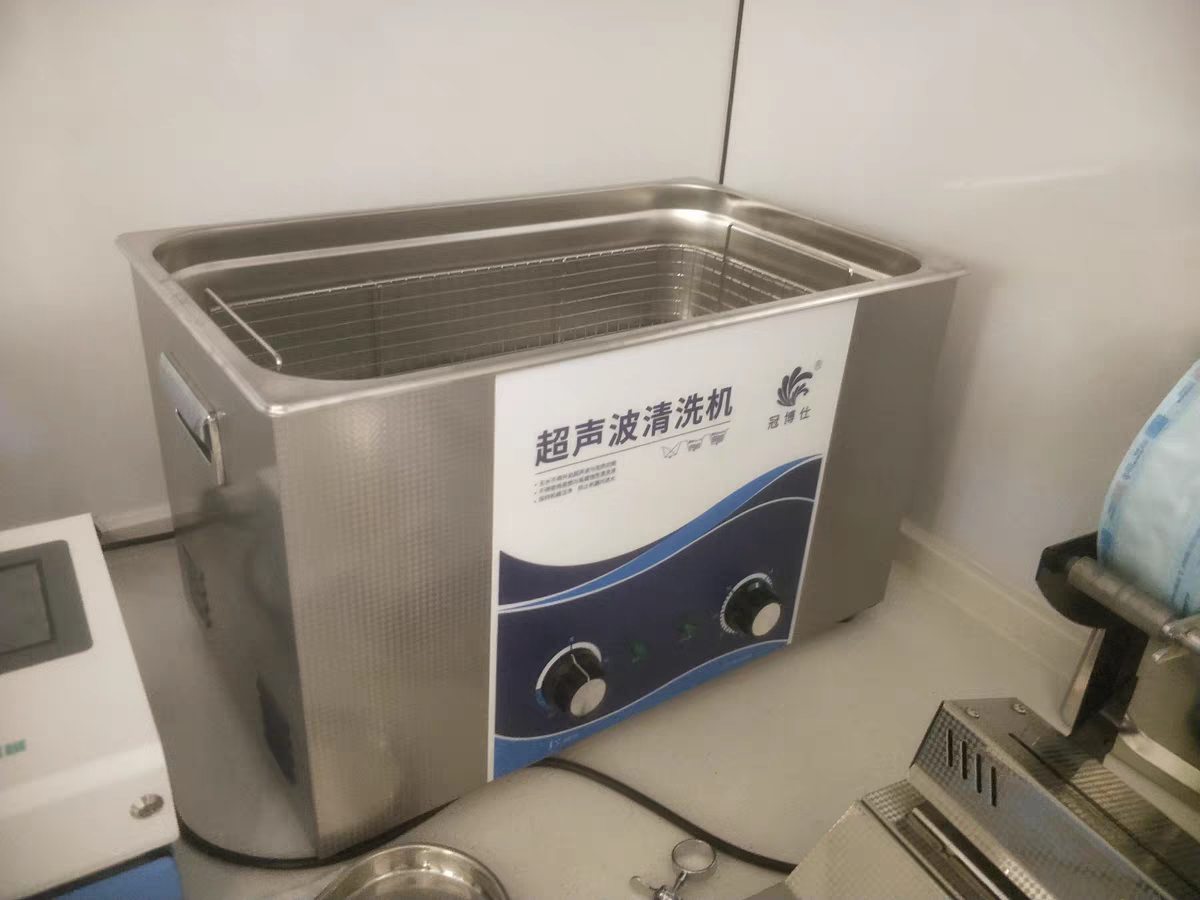
1. Basic Steps for Operating an Ultrasonic Cleaner
1.1 Turn on the Power
Ensure the device is connected to power. Turn on the main power switch located on the back right side of the machine to start the equipment.
1.2 Prepare the Cleaning Solution
Preparing the cleaning solution is a key step in ultrasonic cleaning:
- Add detergent and water in proportion:
- Add 25-30 ml of enzymatic cleaning solution to 8 liters of water.
- Add 35-45 ml of enzymatic cleaning solution to 11 liters of water.
- Ensure the liquid level meets the following conditions:
- Above half of the tank’s height, ensuring effective ultrasonic propagation.
- Below three-quarters of the tank’s height, to prevent spillage.
- Use a cleaning basket to load instruments, ensuring they are fully immersed in the cleaning solution. Detachable parts should be separated to enhance cleaning coverage.
1.3 Set the Cleaning Time
- Rotate the timer control clockwise. It is recommended to set the cleaning time to about 5 minutes, and no longer than 10 minutes.
- Note: Do not rotate the timer knob counterclockwise to avoid damaging the switch.
1.4 Set the Cleaning Temperature
- Use the temperature control knob to set the temperature to 30-40℃, as this range is optimal for the cleaning solution.
- Do not exceed 45℃ to prevent potential damage to the device or the cleaning solution.
1.5 Post-Cleaning Equipment Maintenance
- After cleaning, turn off the power and wipe the equipment dry.
- For long-term storage, ensure no liquid residue is left in the cleaning tank to avoid corrosion or bacterial growth.
2. Important Considerations During Use
2.1 Use the Right Cleaning Solution
- Select the appropriate cleaning solution based on cleaning needs. For example, enzymatic cleaning solutions are ideal for medical instruments. Ensure correct dilution ratios, as concentrations that are too high or low may affect cleaning performance.
- If rust is present on medical instruments, adding medical rust remover can help eliminate stains.
2.2 Avoid Operating Without Liquid
- Insufficient liquid can cause ultrasonic transducers to run dry, potentially damaging the equipment. Ensure the liquid level meets the tank’s requirements.
2.3 Stay Within Safe Temperature and Time Ranges
- Excessive cleaning time may damage the surfaces of precision instruments. Keep the duration strictly within 5-10 minutes.
- High temperatures may damage some materials, particularly temperature-sensitive plastics or coatings. Do not exceed the recommended temperature range.
2.4 Regularly Maintain the Equipment
- Regularly check the cleaning tank’s surface for signs of damage or corrosion caused by prolonged liquid residue.
- After cleaning, ensure the equipment and its components are completely dry before storing them to extend their lifespan.
3. Additional Tips for Cleaning Common Instruments
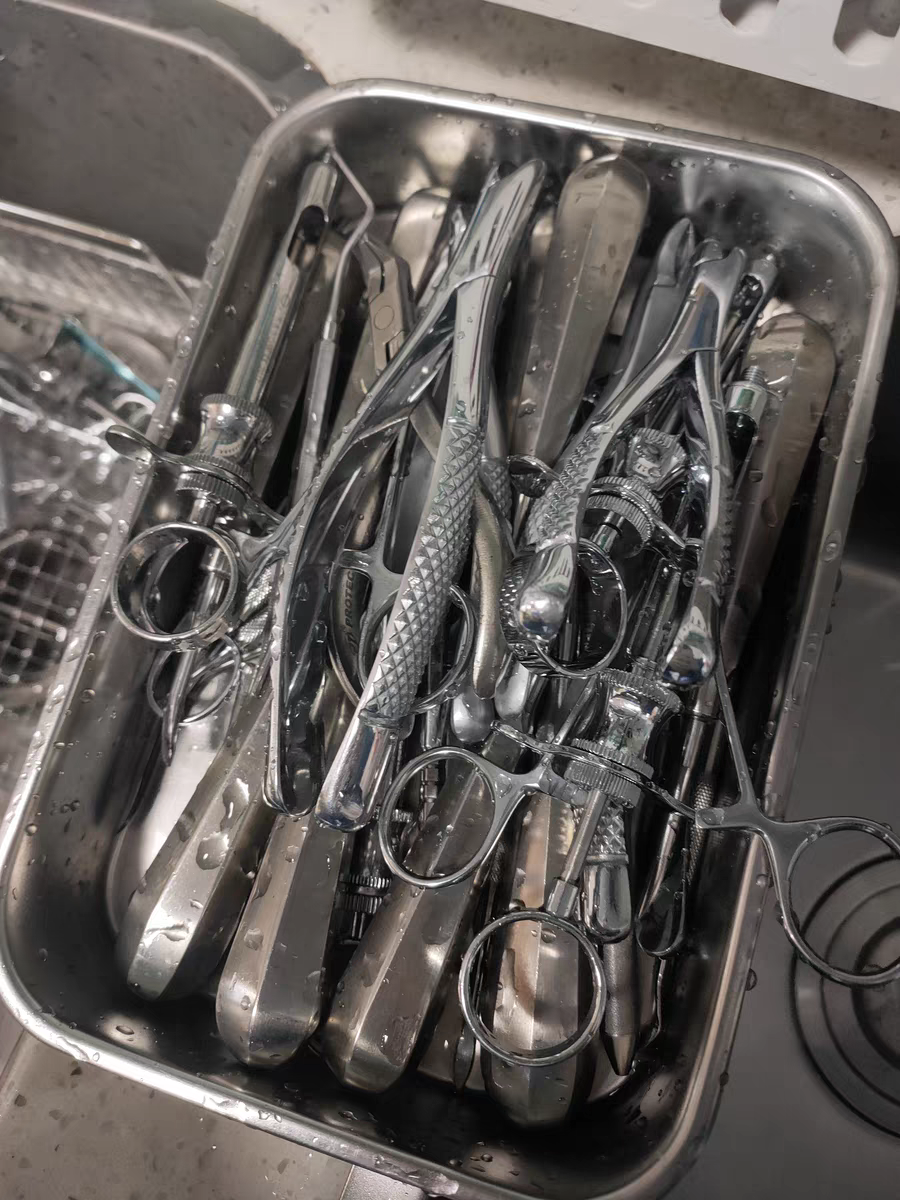
- Medical Instruments: Dental probes, surgical scissors, and tweezers should be spaced properly during cleaning to ensure liquid flow.
- Laboratory Equipment: Beakers and pipettes require cleaning solutions suitable for glass and plastic materials to avoid damage.
- Precision Parts: Ensure they are placed securely to avoid vibration or collision during cleaning.
Ultrasonic cleaning, as an efficient and safe cleaning method, can significantly improve cleaning quality and extend equipment life when paired with proper operational methods and maintenance. Whether in medical fields or industrial cleaning, standardized operations are the key to achieving optimal results.

