Clogged printer heads are a common issue that can affect print quality and efficiency. While most modern printers come with automatic cleaning functions, an ultrasonic cleaner can be a more effective solution for stubborn clogs. So, how effective is ultrasonic cleaning for printer heads?
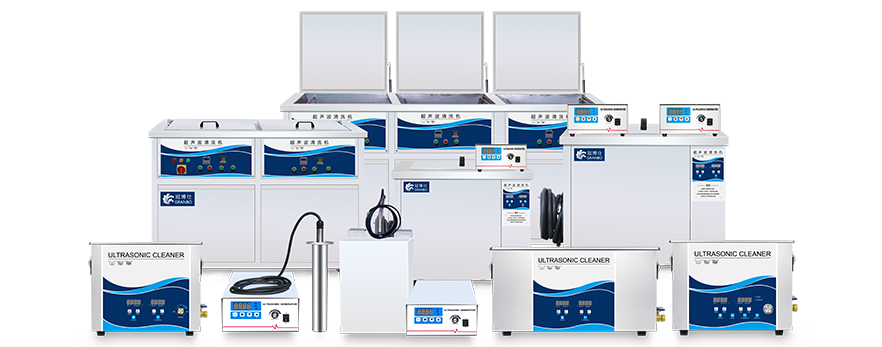
Working Principle of Ultrasonic Cleaners
Ultrasonic cleaners utilize high-frequency sound waves to produce a cavitation effect in the cleaning solution. Cavitation refers to the rapid formation and violent collapse of tiny bubbles in a liquid due to the sound waves, which generates a powerful impact that effectively dislodges contaminants from the surface of objects.
- Cavitation Effect: As ultrasonic waves propagate through the cleaning solution, countless tiny bubbles are formed. These bubbles rapidly form and collapse under pressure changes, producing a strong impact that can penetrate the small channels of the printer head.
- Efficient Cleaning: Ultrasonic cleaning can thoroughly remove ink residues and clogs both inside and outside the printer head without damaging its surface.
Steps to Clean Printer Heads Using an Ultrasonic Cleaner
1. Preparation
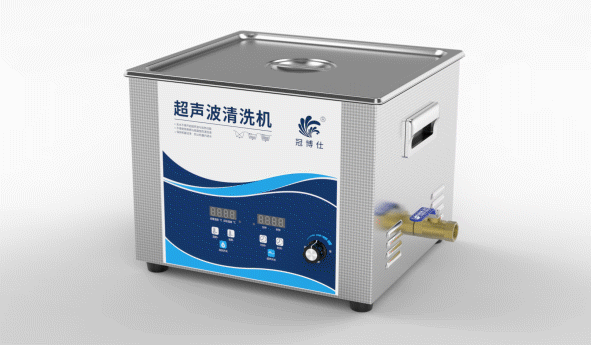
Before cleaning, prepare the ultrasonic cleaner and a specialized cleaning solution. If a specialized solution is unavailable, alcohol can be used as a substitute.
2. Cleaning Steps
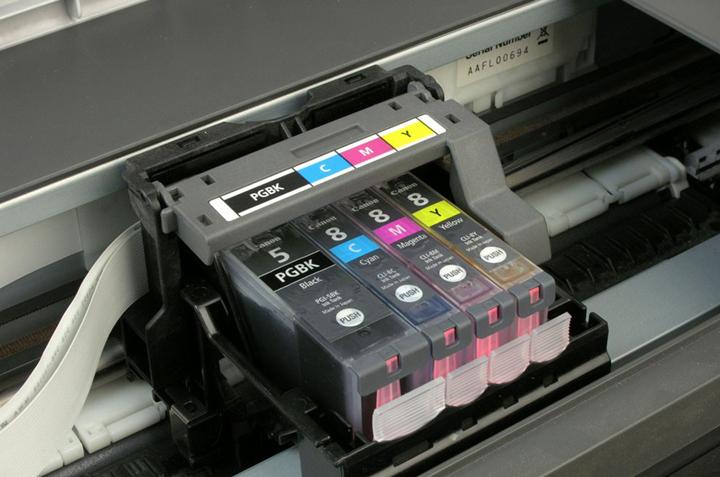
2.1 Remove the Printer Head
Carefully remove the printer head to avoid any damage.
2.2 Add Cleaning Solution
Pour about 3 cm of cleaning solution into the ultrasonic cleaner, just enough to cover the printer head.
2.3 Cleaning Process
Place the removed printer head into the cleaner, ensuring that the cleaning solution covers the printer head by about 0.5-1 cm. Start the ultrasonic cleaner and typically clean for 5-10 minutes.
2.4 Check Cleaning Effectiveness
Use a simple cleaning tool to check if the printer head is clear. If the ink still sprays unevenly or with gaps, continue cleaning or soak until the head is completely clear.
2.5 Dry the Printer Head
After cleaning, remove the printer head and let it air dry or use a hairdryer carefully to dry it. Ensure the printer head is completely dry before reinstalling it in the printer.
3. Installation and Testing
3.1 Reinstall the Printer Head
Reinstall the dried printer head into the printer.
3.2 Clean the Printer Head
Power on the printer and perform a printer head cleaning operation to expel any remaining cleaning solution and fill the head with ink.
3.3 Test Print Quality
Print a nozzle check page to ensure the print lines are complete and unbroken, confirming the cleaning effectiveness.
Advantages and Precautions of Ultrasonic Cleaning
Advantages:
- High Efficiency: Thoroughly cleans the internal microchannels of the printer head.
- Non-Damaging: Ultrasonic cleaning does not cause mechanical damage to the printer head, making it suitable for cleaning delicate parts.
- Easy to Use: Simple to operate with minimal setup required.
Precautions:
- Use Appropriate Cleaning Solution: Ensure the cleaning solution does not corrode the printer head material.
- Control Cleaning Time: Avoid prolonged cleaning to prevent damage to the printer head.
- Ensure the Printer Head is Dry: Fully dry the printer head after cleaning to prevent damage when reinstalling.
Applications of Ultrasonic Cleaners in Printing
Office Printer Head Cleaning
Ultrasonic cleaning technology is widely used in office environments to quickly and efficiently resolve printer head clogs, ensuring print quality and efficiency.
Maintenance of Industrial Inkjet Equipment
In industrial production, clogged inkjet heads can significantly impact productivity. Ultrasonic cleaning effectively addresses this issue, ensuring long-term stable operation of the equipment.