Ultrasonic Cleaner Manufacturer
The production process of an ultrasonic cleaning instrument involves several key steps, from design and prototyping to final assembly and testing. Here is an overview of the general production process for ultrasonic cleaners:
1. Design and Prototyping
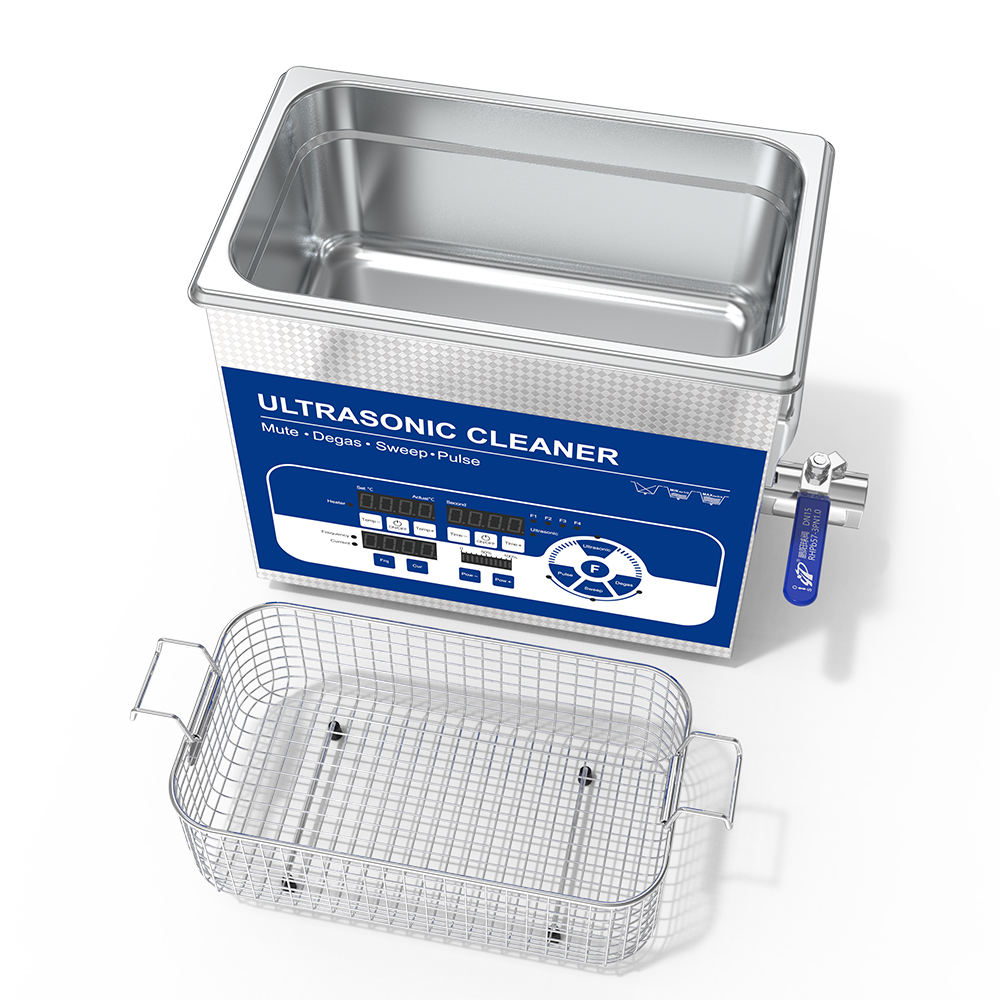
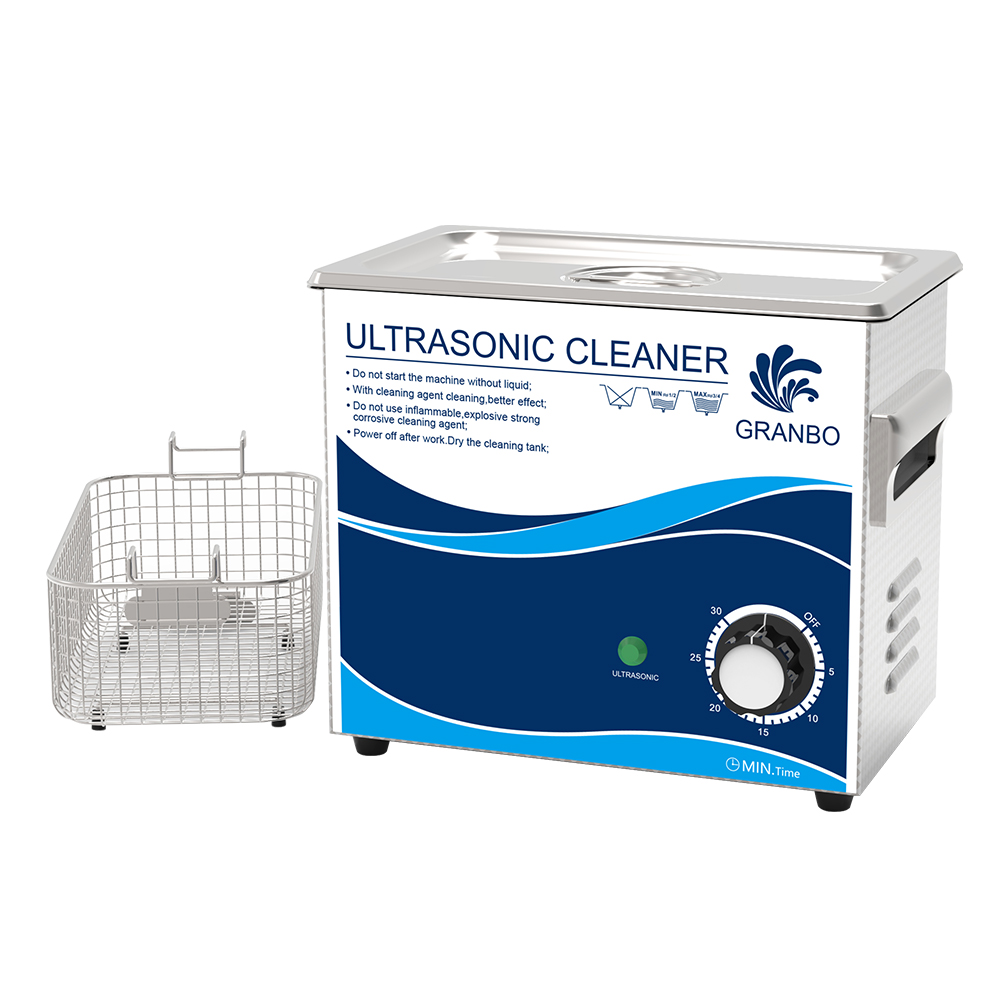
- Product Design: The first step involves the design of the ultrasonic cleaner, which includes the external casing, tank, control panel, and internal components (e.g., transducers, power supply).
- Prototyping: A prototype is created based on the design. Engineers and designers use software to simulate the device’s functionality and ensure the ultrasonic waves will work effectively. The prototype is tested for usability and performance.
2. Component Selection
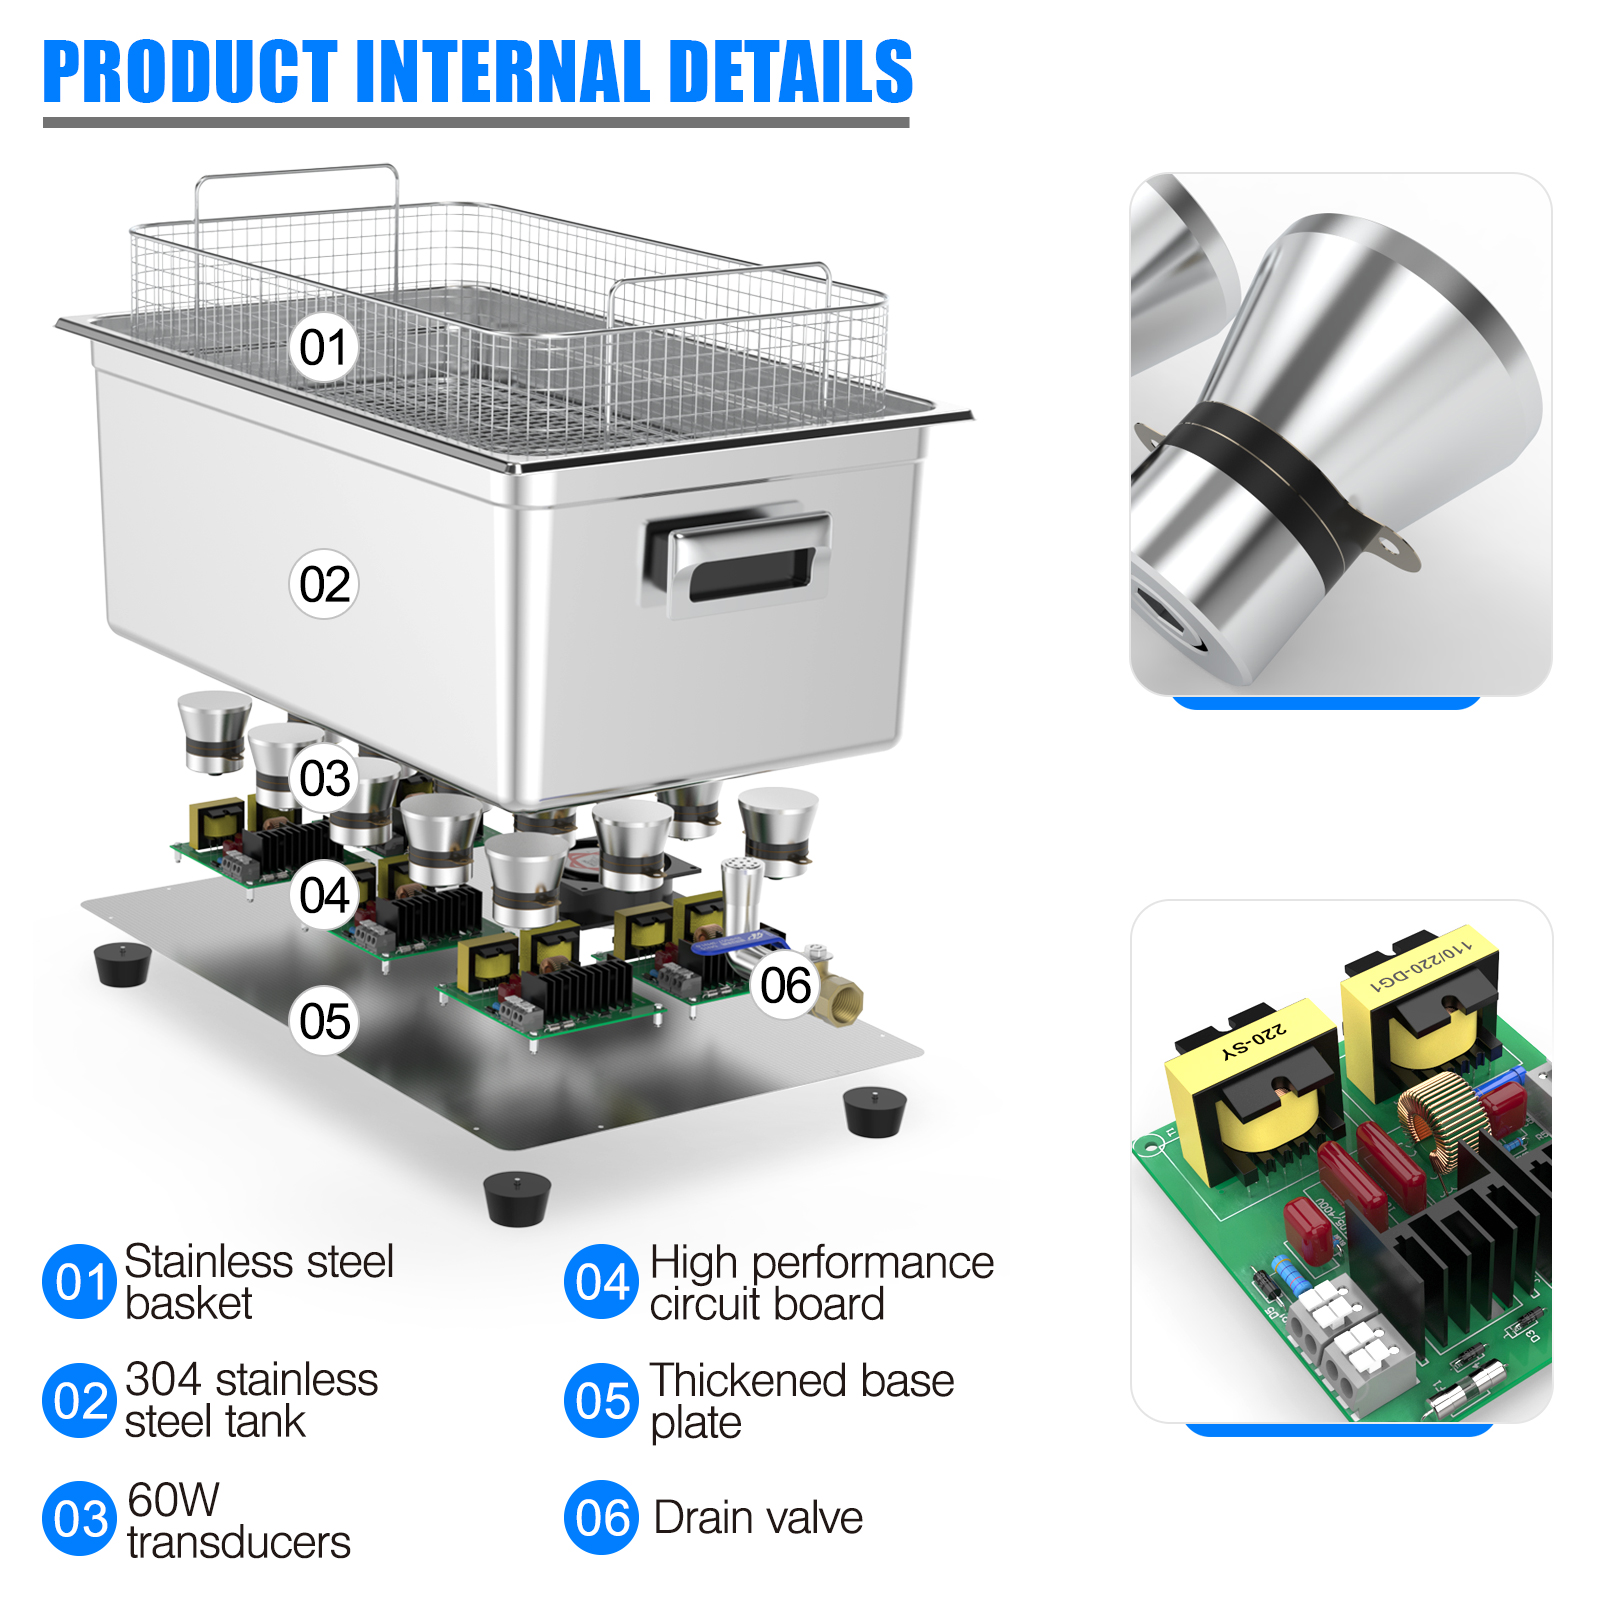
- Ultrasonic Transducers: The transducers are the core components responsible for generating ultrasonic waves. They are usually made of piezoelectric crystals or ceramic materials. The right type and number of transducers are chosen based on the desired power and frequency.
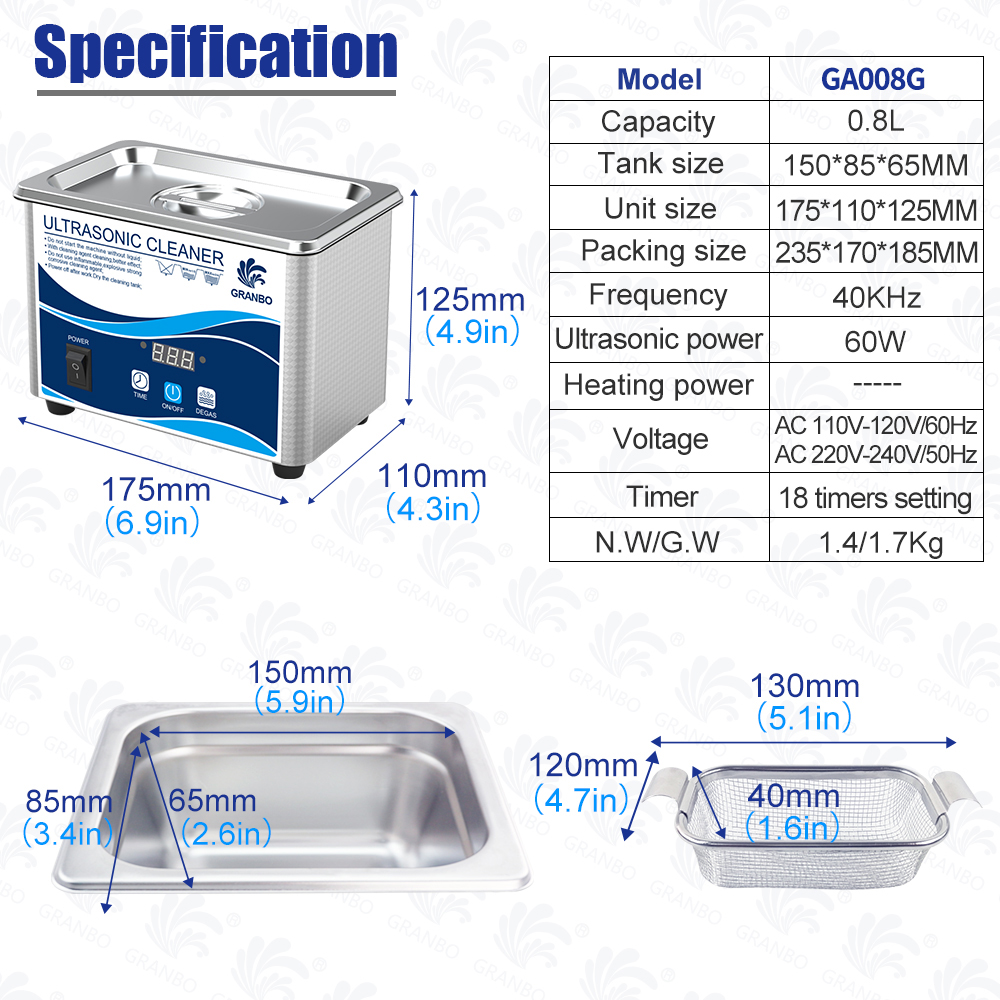
- Cleaning Tank: The tank is usually made of stainless steel or high-quality plastic to withstand corrosion from cleaning solutions and ultrasonic vibrations.
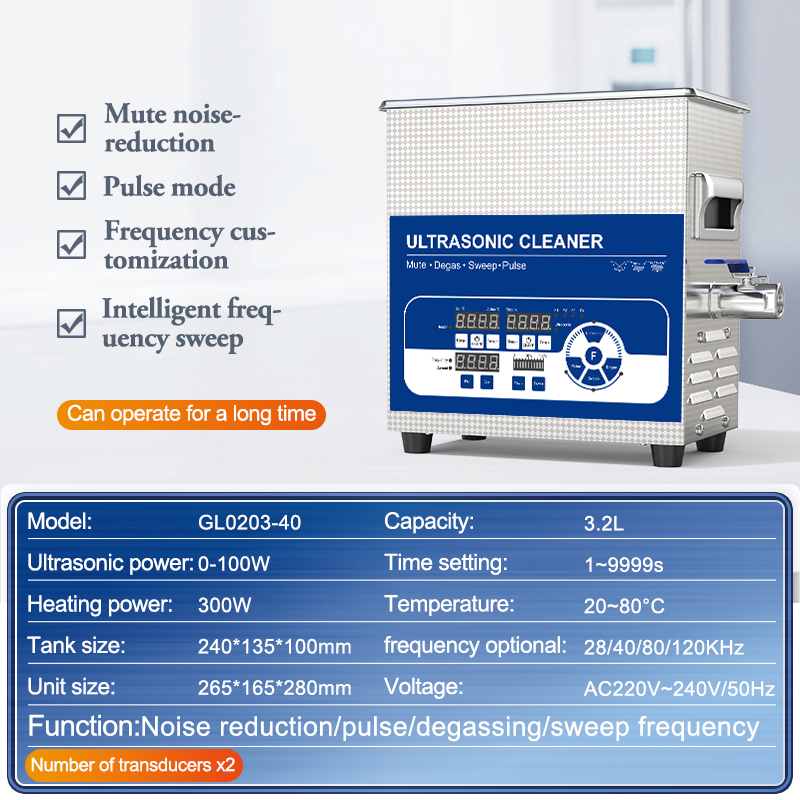
- Power Supply: A reliable power supply is necessary to drive the transducers. This typically includes a control unit to regulate power output, frequency, and temperature.
- Control Panel and User Interface: Buttons, screens, or touch panels are chosen based on the intended user experience. These allow users to adjust settings like cleaning time, temperature, and power level.
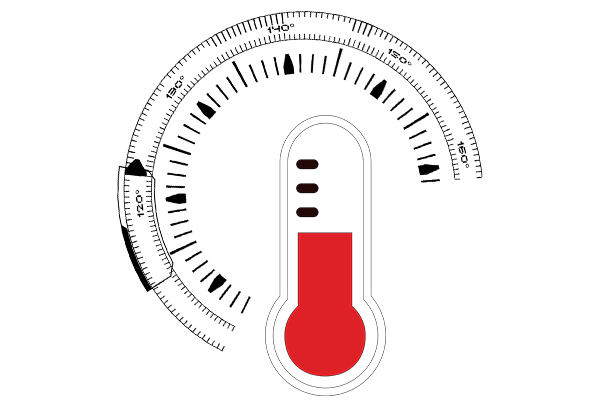
- Heating Element: Some ultrasonic cleaners include a heating element to warm the cleaning solution, improving cleaning efficiency.
3. Manufacturing of Individual Components
- Fabrication of Tank and Housing: The tank is fabricated through processes like stamping, cutting, and welding for stainless steel parts. Plastic parts may be molded using injection molding processes.
- Transducer Manufacturing: The piezoelectric crystals or ceramics used in transducers are cut, shaped, and bonded with metal plates to form a transducer that can convert electrical signals into ultrasonic waves.
- Circuit Board Production: The control circuit, including power regulators, frequency generators, and microprocessors, is designed and produced. This may involve surface-mount technology (SMT) or through-hole technology (THT) for assembling the components onto a printed circuit board (PCB).
4. Assembly
- Mounting the Transducers: The transducers are attached to the bottom of the tank or submerged in the cleaning solution. This step is critical because the alignment of the transducers affects the efficiency of ultrasonic wave generation.
- Connecting the Electrical Components: The power supply, circuit board, and transducers are connected using wires and other electrical connectors. Proper insulation and wiring are essential to avoid shorts or electrical hazards.
- Assembling the Housing: The outer housing is put together, enclosing the tank, control panel, and electrical components. The housing must be secure to protect the internal parts and prevent leakage.
5. Testing and Quality Control

- Ultrasonic Wave Testing: Once the unit is assembled, it is powered on, and the ultrasonic waves are tested to ensure proper functionality. The output frequency and power levels are checked using specialized equipment.
- Leak Testing: For ultrasonic cleaners with a water-tight design, leak testing ensures that there are no leaks in the tank, especially around seals and connections.
- Temperature Testing: If the cleaner has a heating function, the temperature control system is tested to ensure it heats the solution to the desired level.
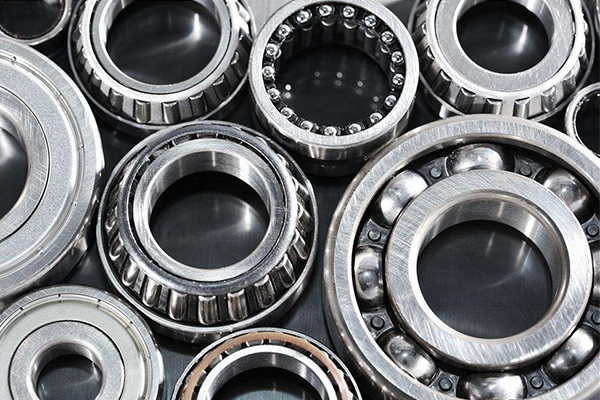
- Cleaning Efficiency Testing: The cleaner is tested with different types of contaminants to check its cleaning performance. Items like jewelry, circuit boards, or tools may be used to assess the unit’s effectiveness.
- Durability Testing: The product is often subjected to stress tests to evaluate the reliability of its components and overall build quality.
6. Finishing and Packaging
- Cosmetic Finishing: Once the cleaner is fully functional, it may undergo cosmetic finishing, such as polishing or painting the outer housing. Labels, logos, and safety warnings are also applied.
- Packaging: The ultrasonic cleaner is carefully packaged to prevent damage during
- transportation. This includes cushioning and protective wrapping to keep the product secure.
- Instruction Manual: A user manual is included with each ultrasonic cleaner, explaining how to operate the device, use cleaning solutions, and perform maintenance.


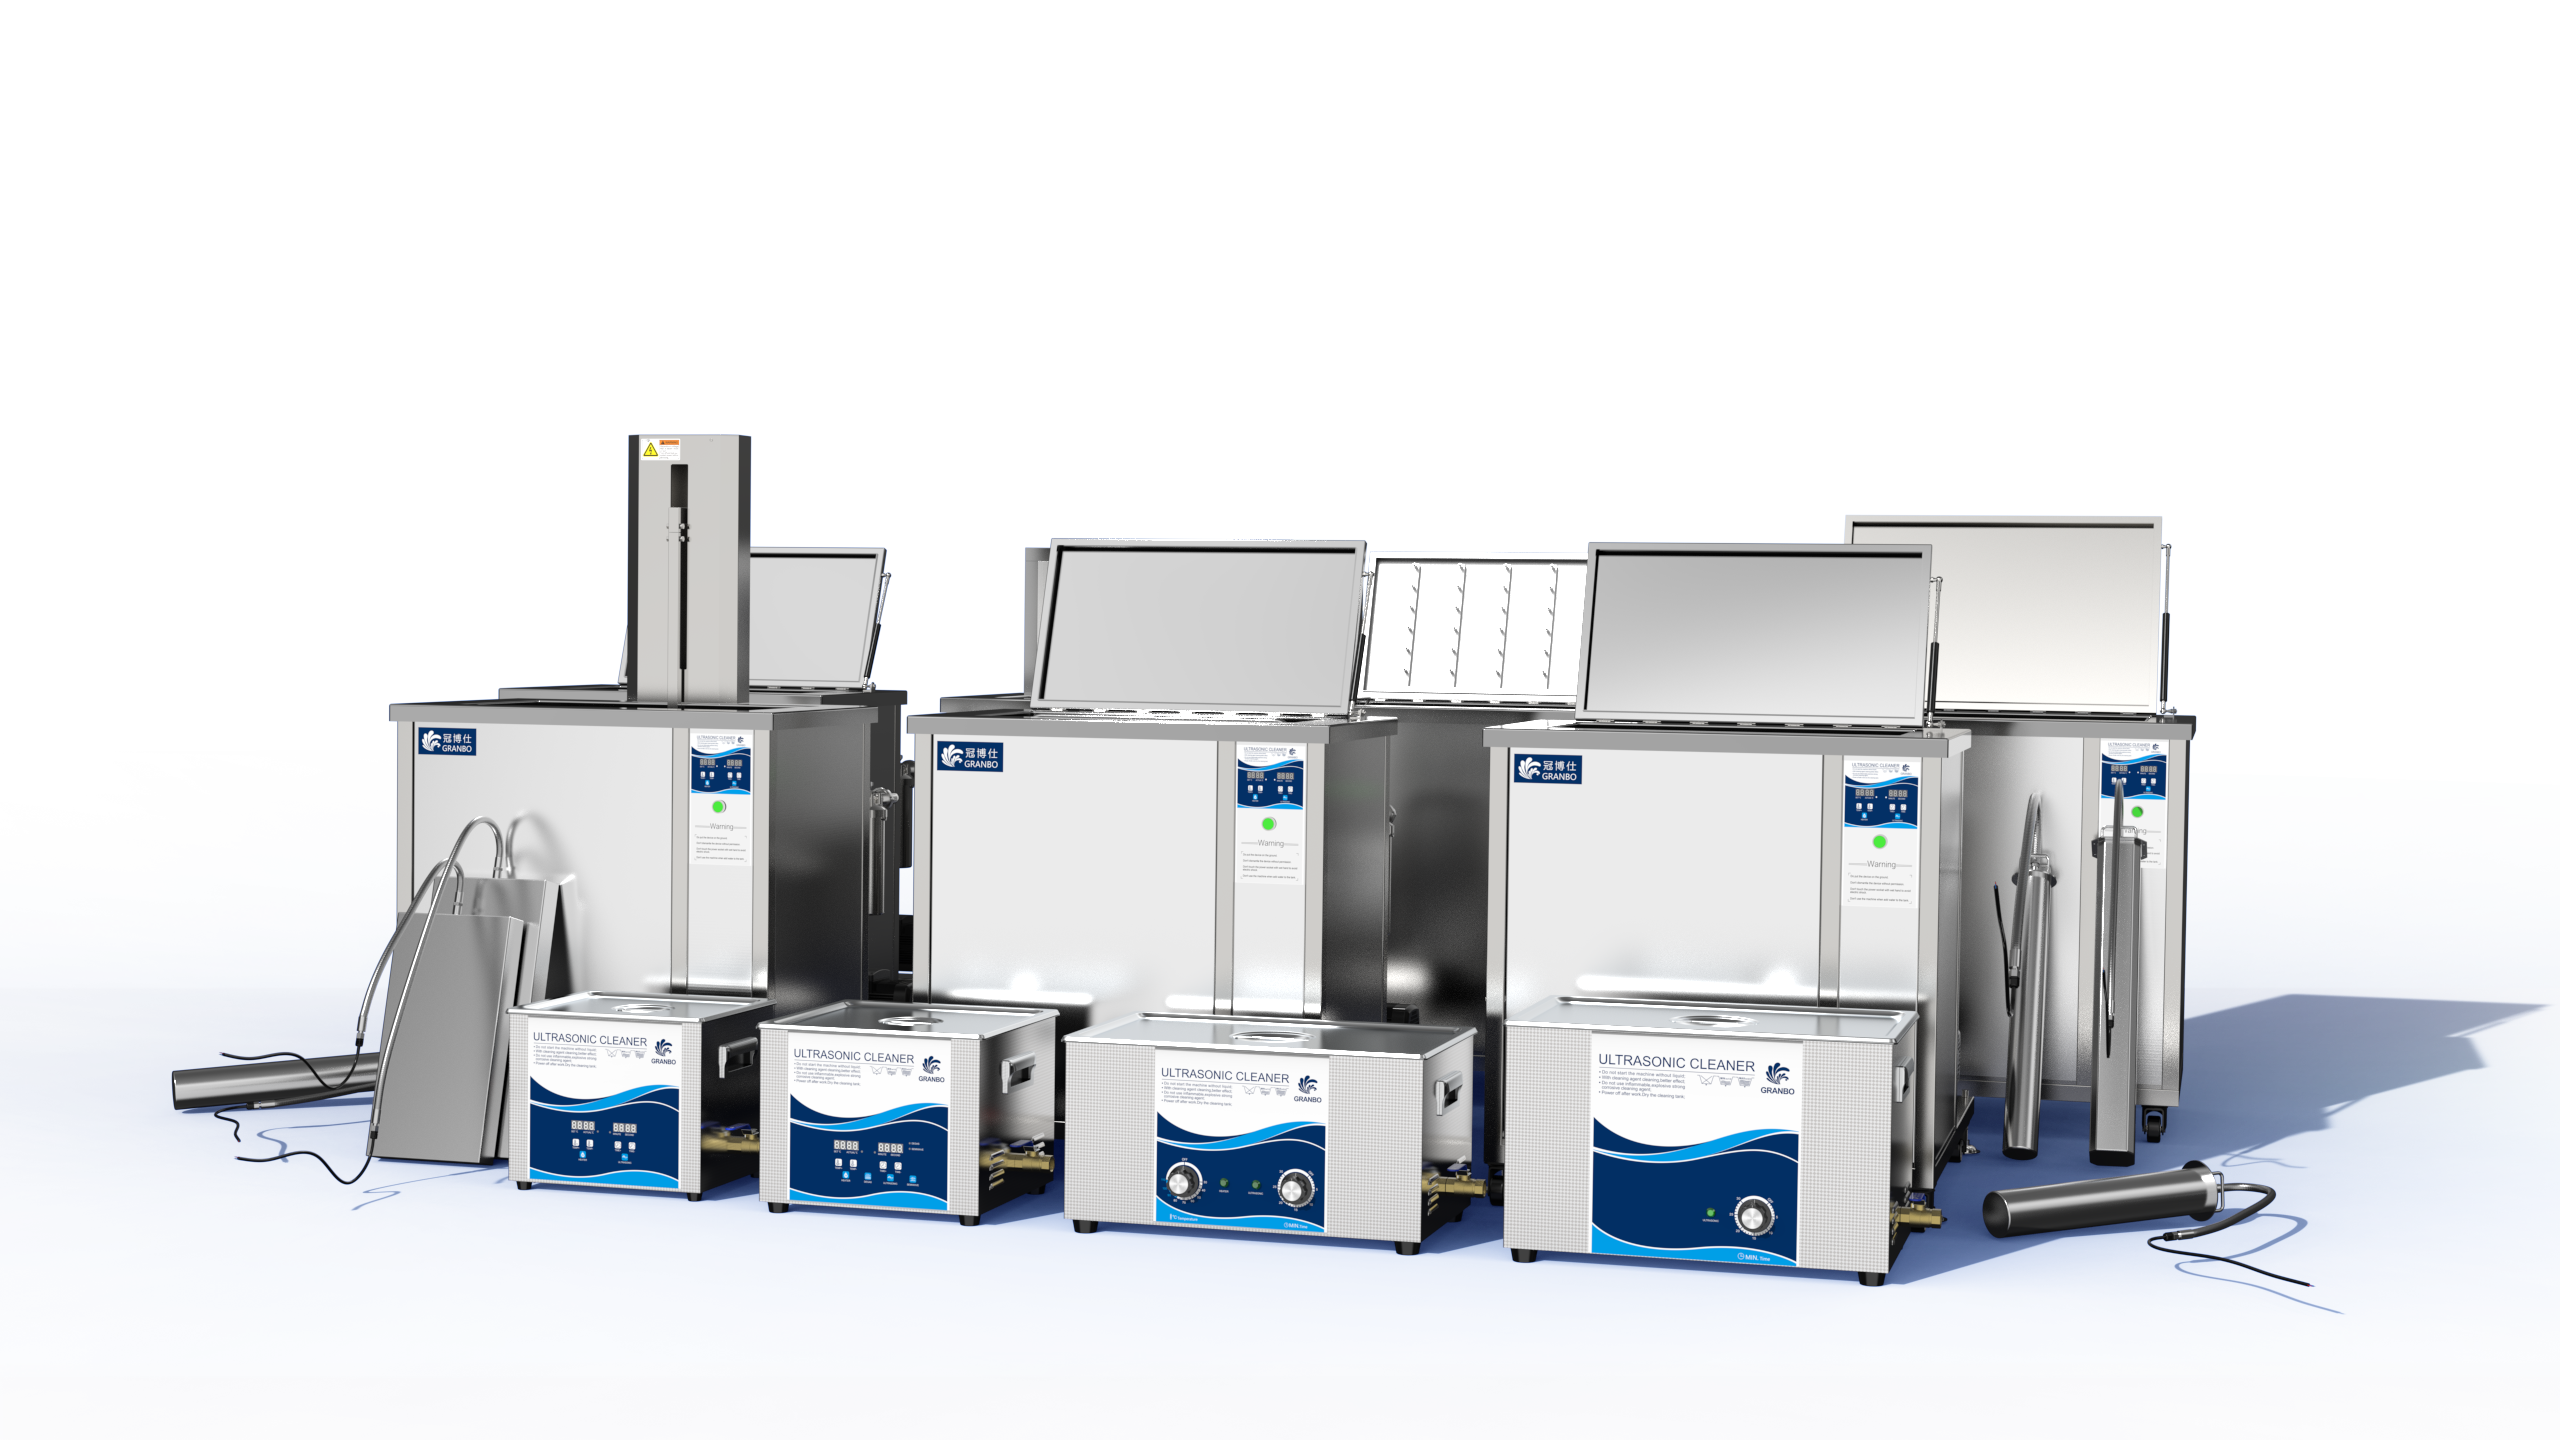
7. Distribution and Shipment
- After the ultrasonic cleaners are assembled, tested, and packaged, they are ready for distribution. They are shipped to various markets, including retailers, wholesalers, or directly to customers.
Key Quality Assurance Considerations:
- Certification: Many ultrasonic cleaners undergo testing and certification, such as compliance with safety regulations (e.g., CE marking, UL certification) or quality standards like ISO.
- Safety Features: Safety features are integrated into the design to prevent issues like overheating, overcurrent, or electrical malfunctions. These may include fuses, thermal cutoffs, or automatic shut-off functions.


The production of an ultrasonic cleaning instrument is a complex process that requires precise manufacturing and attention to detail. Each component must be carefully selected and assembled to ensure the device functions properly, providing effective and safe cleaning. Testing and quality control are crucial to ensuring that the ultrasonic cleaner operates optimally and lasts for a long time.
If you’d like to know more about a specific part of the process, feel free to ask!